

1100 Waveraider Performance Modification
02-26-2014, 03:11 PM Written by Wax
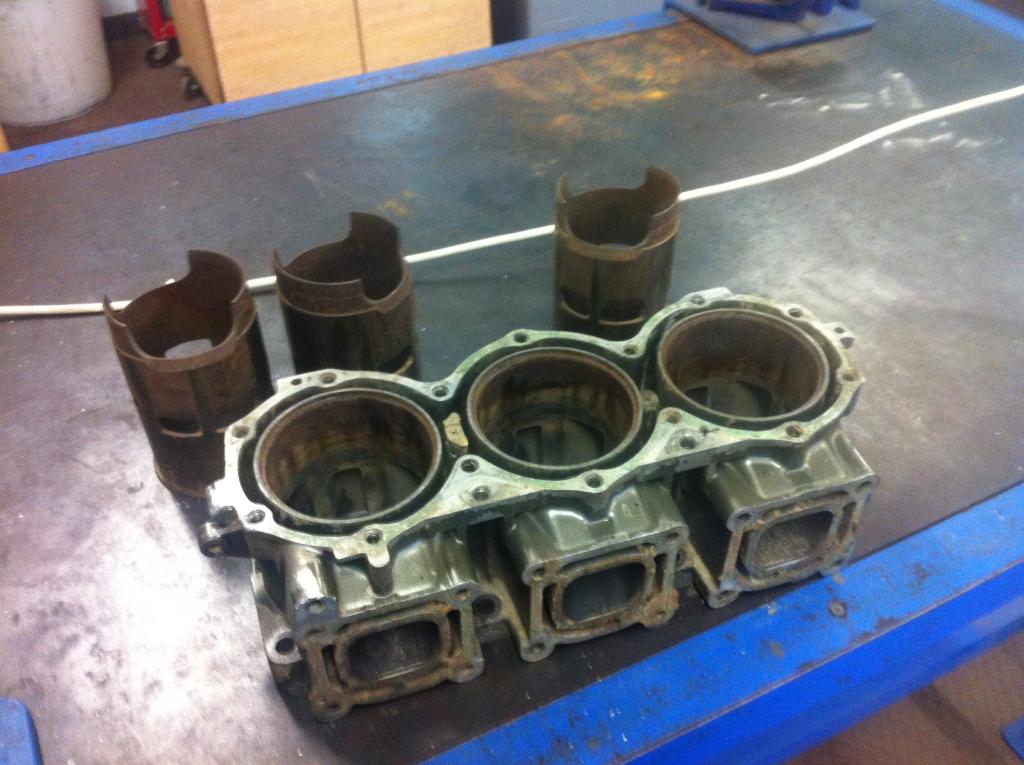
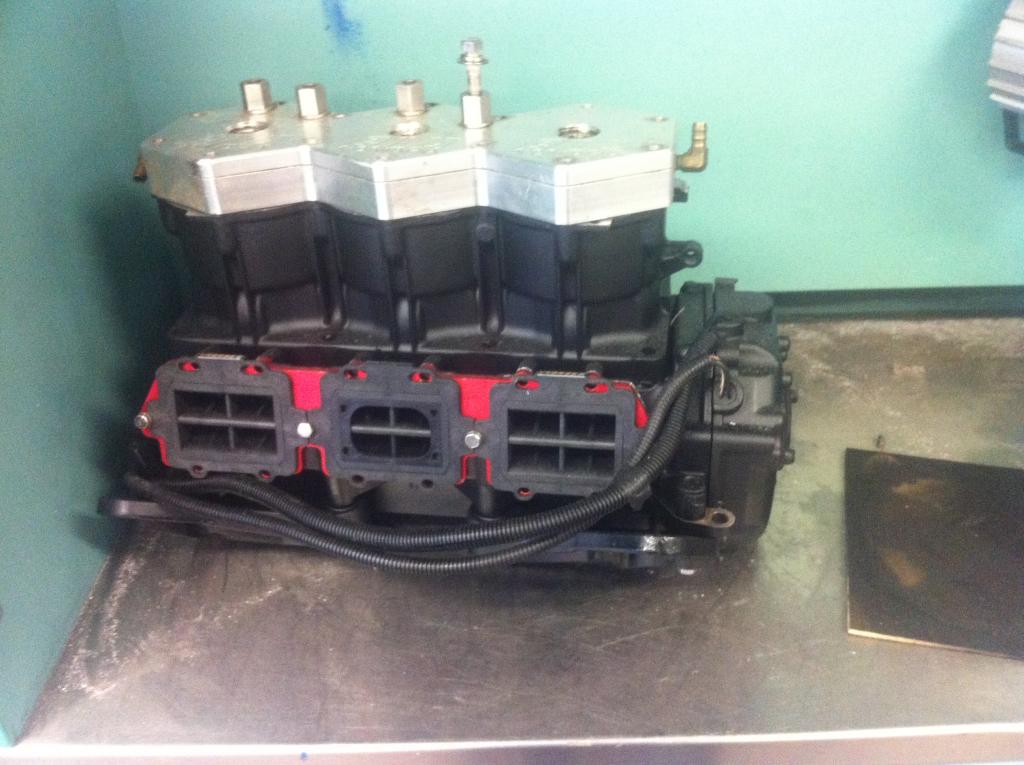
This is the build up of engine up for my triple conversion for my wave blaster. I thought maybe you guys would be interested in the build and results. As you can see here, I’m just adding the J-B Weld to allow me to grind on the cases.


In this thread I am marking out the boost port as I am running a big taper on it, the taper helps throttle response a lot.
It's roughed out in the finial picture and will be finished when the cylinder is on.


From here, it's into the cases and roughing them out to get them to flow. The stock yami cases are such a terrible thing and need work to make them flow,

If they said they could port your cylinder with the sleeves in they lied. You can't do a decent job with the sleeves in, its just not possible. Here I am measuring the port heights. This thing is ported like an outboard engine and no wonder they don't have much power for their capacity .


Well, here is the results from the port heights. As you can see the stock one is very lame. Actually, a 5mm stroker in this cylinder would be a very good thing. I however have a stock crank and it's going to be that. You can see where I am going to have to lift the ports to. The software is being used to simply figure out port heights needed the rest of the information in there is not really relative


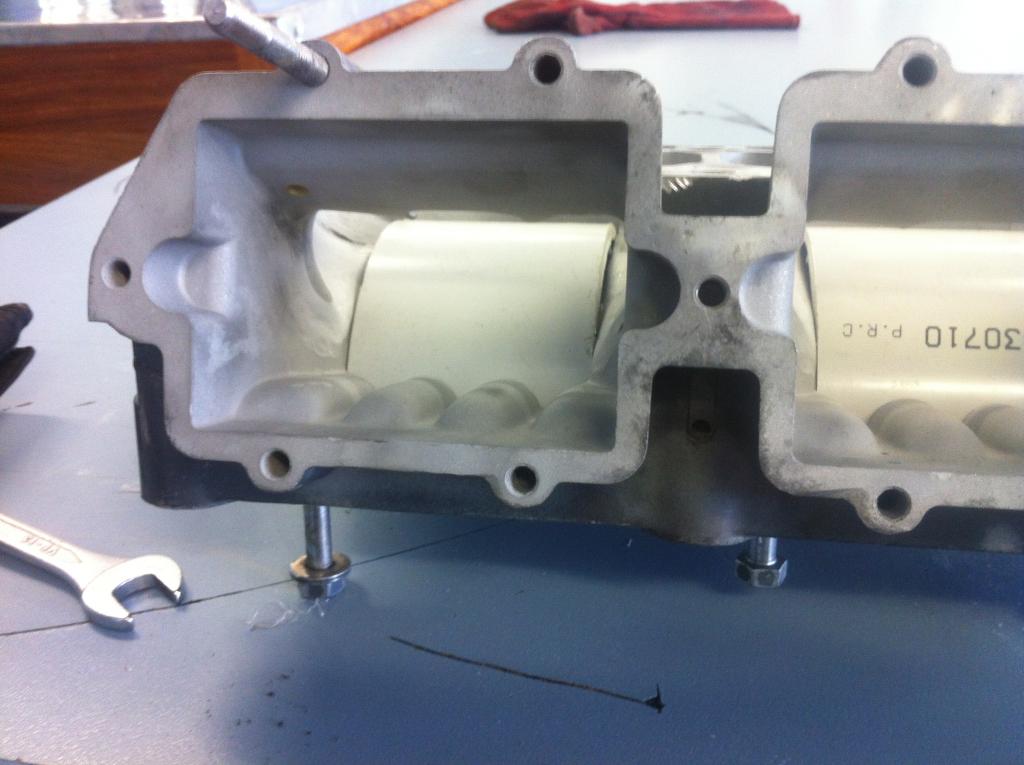
With the sleeves out you can really get in there and work on the transfer tunnels. You can see the taper I have put in the transfers now. I love having a sand blaster to tidy up the work afterwards. I also dropped the bridge in the divider to reduce some of the parasitic flow resistance of the divider.


The radial angles in this engine are all wrong and it's surprising it runs. It tries to shove all the fuel out the exhaust and then uses the boost port to help it push the rest out. It's not a well designed engine at all.
I burrowed the port diagram, was easy then drawing it out myself.


I pulled the exhaust apart and had a good look at that, great pipe its already a full dry system that can still be improved on.
I know someone has done it like this in the past, but I will be doing how its changed in this pic. Much better as the water goes in from the bottom and flows out the top this means no bubbles and by restricting the flow i can get the exhaust to the temp I want to help over rev.


You also are trying to keep the air flow from hitting the crank as much as possible as it sending in a direction that is not productive to airflow. This is why turbo vaning a crank is a bad idea you are throwing air straight back at the reeds.
If you think about the oil migration through an engine you will realize it pushed through the bearing and drawn up the hole in the transfer tunnel. If you think about it from this point of view then you will realise it does not matter about the ramp as the bearing is having a low pressure pulled on it and fuel / oil will get there. The line in the cases by the oil hole is only there to stop oil that runs back down the port when the engine is switched off and feed it to the bearing
If you think about the air coming up the transfers onto a dome piston with a flat transfer it makes no sense and some of the momentum is lost causing a back pressure in the transfers and reducing mass flow. please see the picture I have drawn.
The B port are angles up slightly and push a column of air up the cylinder. The sad thing is A ports push the bottom across and tend to aim it out the exhaust. Not helped at all by the C port which also has a bad Angle on it.
By reducing the up angle on the B ports it will come out flater and the A ports will tend to stand the column up and away from the exhaust port. The C port will be angled higher to stop the column falling over at the top, it will also help to scavenge the cylinder head better. The oem head has a toroid shaped dome and puts the plug nice and low where it should be on a two stroke
Please see the pics below to explain the dome piston and flow

By bringing the sleeve up it helps reduce the trapped air volume.

When the jb weld is dry then just pop out the pvc it will not stick to it. make sure you sand blast the cases it gives some where for the jb weld to hold into


Yes I will post pics of the tunnels etc later today when the jb weld has dried.
I have not made up my mind if I will modify the bottom of the pistons on this motor yet. I normally would but this is going to be a high hour engine and Im taking my boy along with me. Its also going in a blaster one and so its going to be quite wild in stock form. I can ease back a wee bit on things like the pistons and know its still going to be a rocket. On all my race engines I modify the pistons


I will of course post up the curve when its done so you can all play with it and see what im running

I got a developers price because of that so you will need to contact them re the pricing. Its awesome as its fully programmable as well as very water proof. Im not sure if mounting out the box would be a good idea but i reckon it would go close to being ok
When you transfers are to high you can run with no base gasket and run a negative deck engine this means the pistons come out the top of the bore, you cant go as far down as the ring but you can get a few mm, Riva used to even make a plate to allow you to do this for twins. Its quite common on stroker motors when he transfers get to high. In your case you need the transfer higher and so you need to go the other way.
If you look at the sleeve out off the cylinder you will see it has only about 3.5mm of flange and so it makes it hard to machine to much off before the flange is to weak
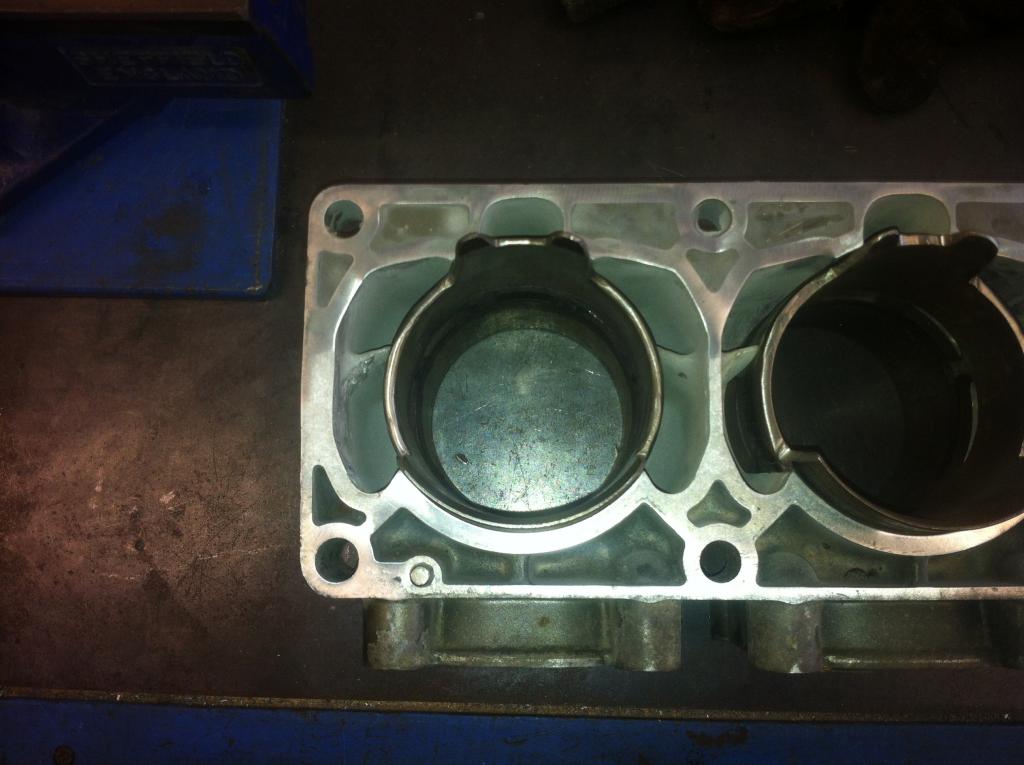
You can see in the pics where I marked out the sleeves for the exhaust port shape. Its a 65% and I have kept it quite small. This allows me to get away with a flatter top on my exhaust port. The upside of this is when the port opens the pressure drops fast in the cylinder and helps my blow down.
The engine will only rev to about 7300-7500 so it is not going to be hard on the rings
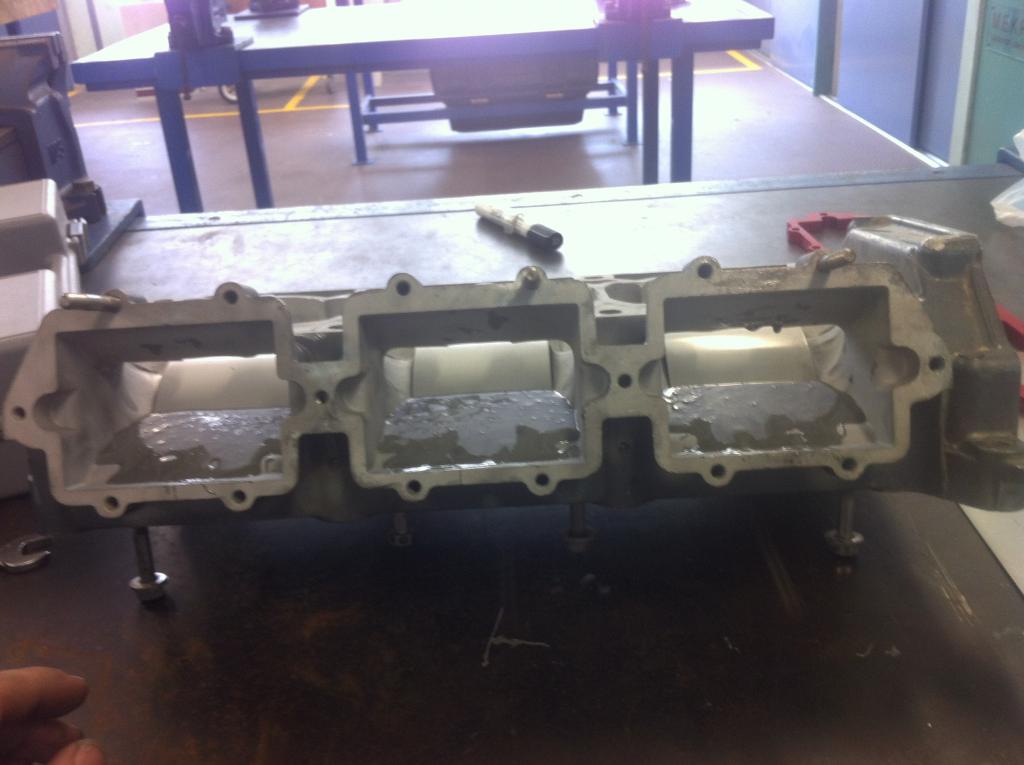
I got the sleeves and back in the cylinder. Then it was a quick blend to the exhaust port and the rest of the cylinder.
Tomorrow I will finish the transfers and give them a final sandblast , then its paint time.


its running 200 degrees exhaust with 128 degrees transfer. This will leave alot of port time area to drop the pressure before the transfers open.
The trick to making power in a two stroke is making sure that the pressure in the cylinder has dropped so enough before the transfers open. If you don't do this then the gas stalls the transfer flow and will even push the new mixture back

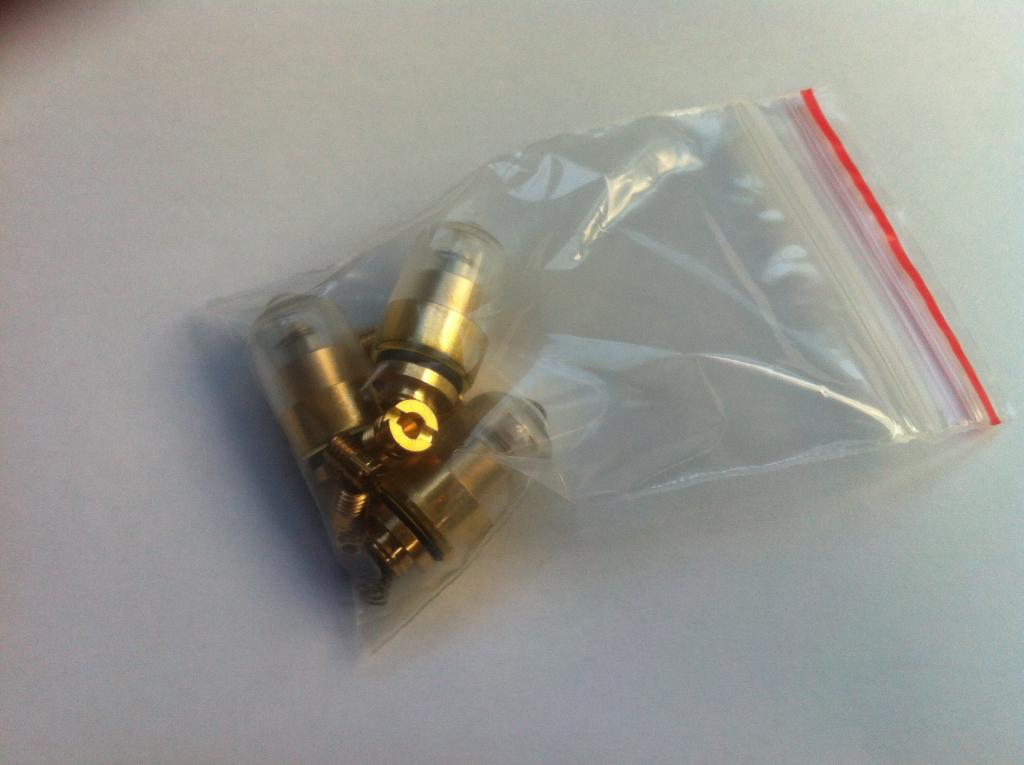
Im using gp1200 44s which i will taper bore. Im using the 1200 front on the engine with the zeeltronic.
I will drill the cases for extra pulse lines as one will not be enough. Im also going to drill the return lines and use a jet in the return to balance the fuel pressure as well.
Yes the sides are taken down by about 12mm. Not really a scientific figure other than they are all the same.
Taper-boring will be done at 11 degrees which seems to be the angle where you gain speed but don't lose mass of flow. I will use a mill do to it and pics will be up when Im doing it.
Jetting I plan on about 2.3 needle and seats, 130 lows, and about 110-115 highs.
That will get me close to start off and with a heap of timing it will smack on so hard it will pull the pump out of the boat lol
Do not open the intake manifold up, this is the same reason you don't run stuffers. when the reeds close and the pressure backs up in the intake the lip stops all the pressure coming back up the intake. When the reeds open again you have a slightly higher pressure to help them react.
Yes I am aware the triple shakes I am hoping to not have them dribble but time will tell on that one.
Hopefully the drilled out returns and the jet in the return balances the fuel pressure and stops the pump collapsing.
I cant for the life of me figure out why it does is the 760 doesn't and it run the same carbs or so close to it
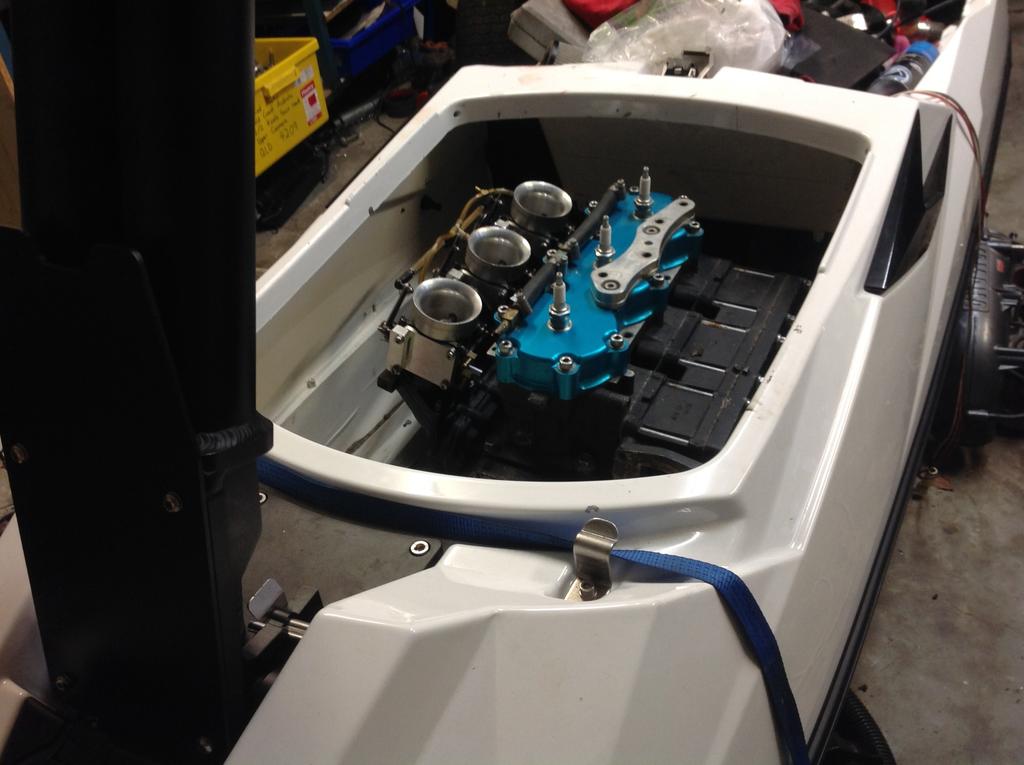
Im looking forward to slipping this into the blaster hull


The pistons will be notched to match the bottom of the sleeves. I want this thing to go well and last well.
Some pic updates not together yet but parts are all there other than the pistons.


I went back and gave my engine more exhaust port, I was a bit conservative and I really want it to hit hard so.
Im now out at 70%
A bit of chatter on the boring bar but nothing to worry about


Its the angle where air gathers speed yes doesn't loose mass as you flow it down a tube. Any shallower than this you do not speed the air as much as you could any steeper than this the air tends to back up and lose mass
Filling in the crossover has always added throttle response it means you have to work a bit harder on the tune as it's less forgiving but hey who care tunning is the easy part right ?


Is should have some ping ping in the exhaust note thats for sure.
The pump I am using is a solas 6 vane with a 16/23 prop and an se nozzle with reduction rings. I wasn't posting the pics here as I thought there was not as much love for the blaster as there was runabouts. I will add some pics later of the ski since you guys seem interested.
The reason I am using the 6 vane and not the 12 vane is because the 6 vane is faster up top, not as much hook up but higher top speed.
Im trying to get the top speed from the blaster first. then I will turn it into a surf boat
Pics in the next few days when its all machined
More updates on the skis soon I m just getting back in front of the back log
My goal is to have the ski finished in the next month. Summer is on the way


That's just one more part of the puzzle sorted. Thanks Dave I was looking at making one myself but why when I can simply just buy them now

No need to worry about the piston getting to hot from to much back pressure

So I will have those on this weekend and then its just a few hoses to hook up and waiting on a part for the ignition.
I went through the carbs, it looks like they never had fuel in them they are that clean. I went for the upgraded fuel pumps to help the pumps live in the 65u platform.
I also dropped the pop off pressure to 25 psi to get the low speed jets in there fast.
I will start with
125 low
110 high
this is just a base setting to get me on the water but it should be close
Its cranking and we have spark. Oh and it's huge, the spark is the same as you expect of the msd total loss. I just have to set the trigger angle in the software and the write a curve for it. I'm hoping to have this running this week but if not this week then next for sure
here is the ignition in test mode

only 31 degrees down low to start with I may ramp it up later
But its alot more than they normally get and it should really help it pull off the bottom

I don't have the stock curve for the gp1200 but if it's like the riva it starts at 18 goes to 25 then starts advancing. Kinda dangerous in my mind.
The riva mod curves hold to much timing in the top end for my liking but time will tell I guess

A bit more plumbing work and its off to the water.
The iphone doesn't do it justice
It would seem that this pipe has good scavenging down low and thus tends to needs smaller jets.
OK on the exhaust port
When the pipe is working it pulls the exhaust gases out as well as some of the fresh charge. The fresh charge rarely goes past the exhaust port and into the manifold. It may or may not fill the entire port area in the cylinder ( how would you ever prove this). The lip tends to stop the hot exhaust going back but not the fresh charge. It helps ward of deto as the charge is kept cooler by the exhaust gases not going back in as much. Its worth about 3 hp on 125 motogp two stroke.
Who knows how much on a 1200 triple ? but its certainly a good thing to not grind out. I have in fact ground them into pipes before to help move the deto threshold


No he really doesn't need the stronger spark option this thing is an arc welder the way it comes. its a tight fit in the electrical box and I had to machine some tabs off inside the box to make it fit. I don't have the hand held programmer and so I cant talk about that. I don't think I would use it to be honest, I can not plug my system in unless I pull the electrical box cover off
Jetting is 135 low and 130 high at the moment still dialing in the 48s. My rev limit is 8000